Showing posts with label dinner. Show all posts

Sunday, September 26, 2010

Eggplant parmigiana

I know what you're thinking-- Eggplant, AGAIN?!  This girl has a sick obsession with that stuff!!  Well, I am well aware of this vegetable monopolizing the blogisphere, but a) it IS delicious and b) they were only a buck a piece at the Brookline farmer's market, how could I resist!  
Oh and yes, you read that correctly, I've moved back to the city!! Actually since my last post, I've signed a lease and scored an apartment in Cleveland Circle AND started a new (and AMAZING) job... full-time with benefits baby, wooo!  Why do I digress you may be asking yourself.  Well this move does in fact impact your life directly... living in an apartment with no momma to cook or dad to grill can only mean one thing, MORE blogging, win! 
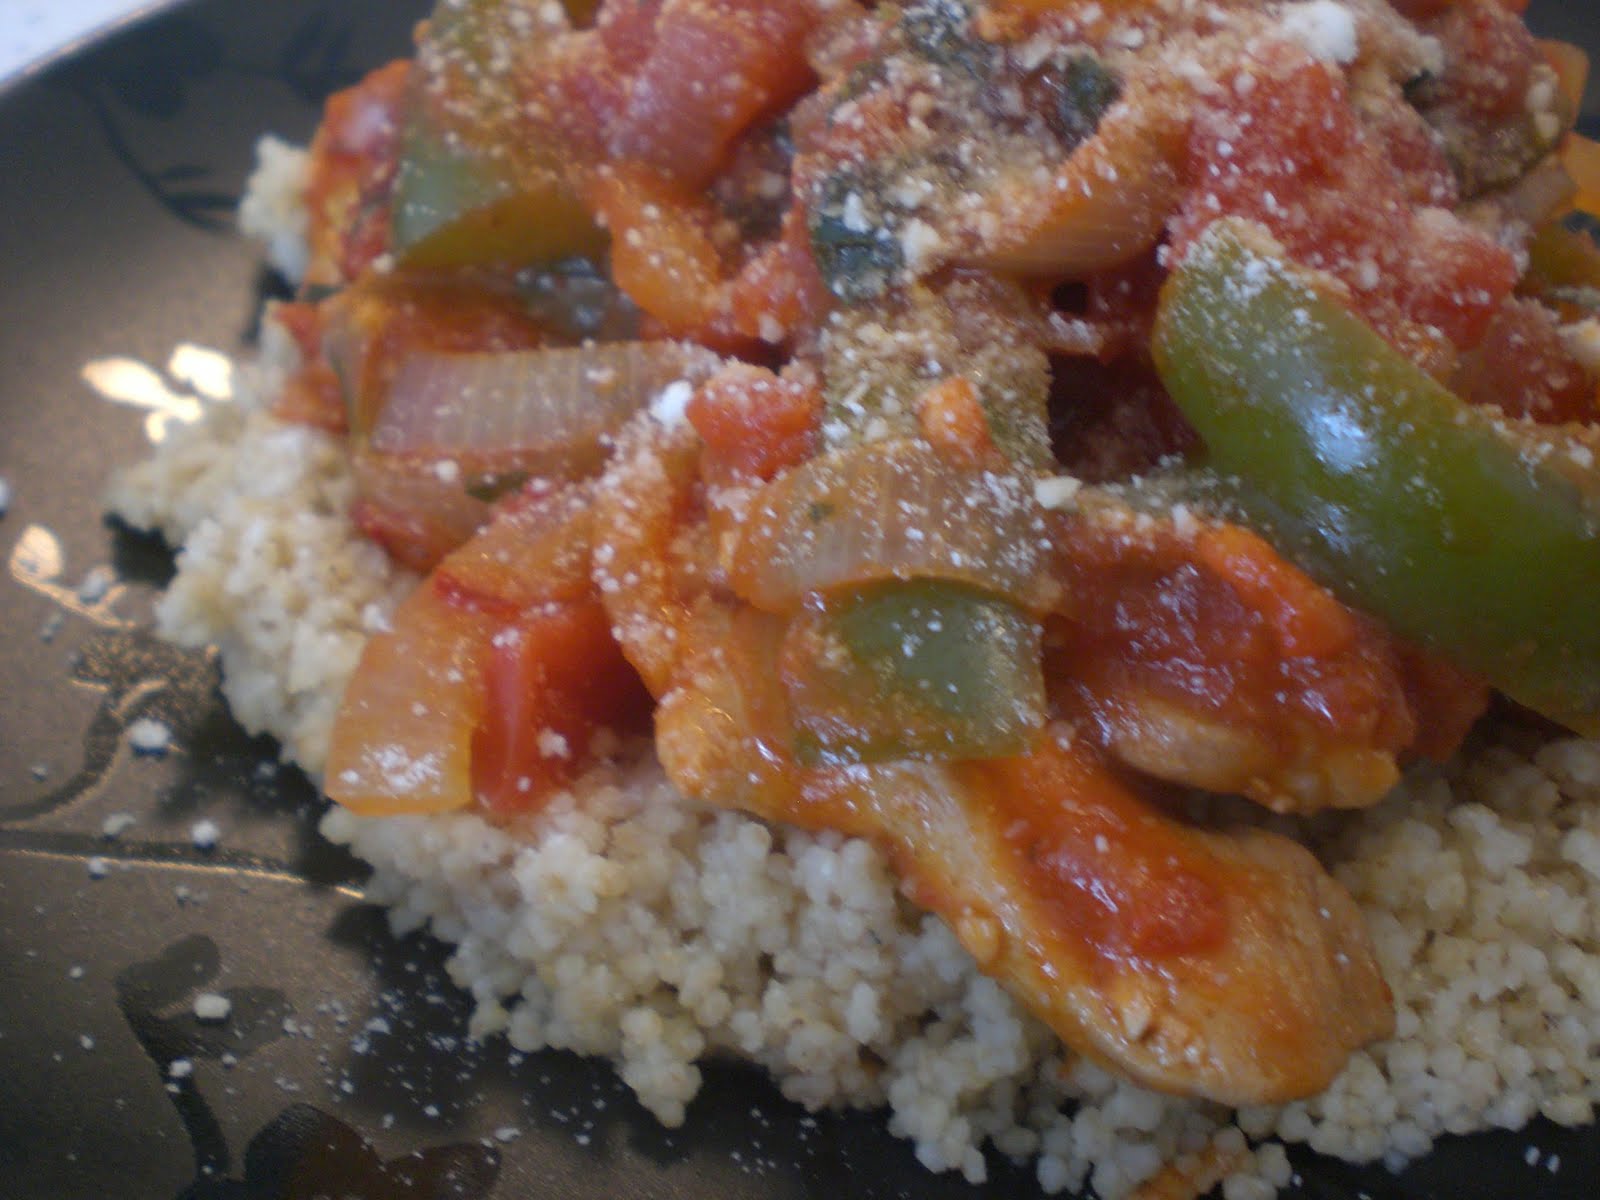
I think the weather may have officially changed for the season and now it's time to pack away your bathing suits and beach chairs, dust off your oven get your apron on!  Tonight I did just that, with a Sunday sauce and eggplant parmigiana.  I make a good sauce, but I am still tweaking and fine tuning-- once I've got it perfected I'll let you in on the recipe, but for now stick with what you know and use what you're used to whether it be grandma's classic sauce or a jar of ragu! (please don't admit to me you use ragu though.)

Eggplant Parmigiana (serves 6)
Ingredients:
3(ish) cups tomato sauce 
1 eggplant, peeled
1/2 cup Italian bread crumbs
1 egg 
1/2 cup milk
1/3 cup flour
1/4 cup fresh basil, chopped
~1 cup mozzarella cheese 


Start by thinly slicing the peeled eggplant in half vertically. Then slice each one in half.
After you've sliced the eggplant, set up a station to bread it.  On one plate, dish out the flour.  In a flat deep dish bowl, add the egg and milk and beat it together.  In the third plate, add the Italian bread crumbs.  Have an extra large plate near by stack all the breaded eggplant.
 Once your all set up, dip each eggplant slice in the flour and shake off the excess.  The flour will help the egg mixture to stick.  Next, dip the floured eggplant into the egg, and lastly hit it with the bread crumbs. 
step 1: flour it

Step 2: dip it in the egg

Step 3: bread crumbs 
Preheat your oven to 350 degrees.  Spray the bottom of an 8x8 inch baking dish with a little non-stick cooking spray, then spoon a little tomato sauce into the dish, you don't need a ton or it'll get too saucy and soggy.  

Then start stacking the eggplant.  Add a little sauce every 2 layers of eggplant, and add a little cheese in the middle.  I didn't measure the sauce or cheese, just look at the pictures and eye ball it.  Just remember, you want to be able to taste the eggplant, not be overwhelmed with cheese and sauce. 
Once the dish is full, spoon a thin layer of sauce onto the top.  Chop the basil and spread it evenly on top, and add more sauce, probably between a half to a full cup.

 
 Bake it in the oven for about 40 minutes, stick a fork through it to see if it's soft.  Remove it from the oven and add the remaining cheese in an even layer.  Bake it in the oven for 5 minutes or until the cheese melts. 
 In lieu of spaghetti, I served the eggplant with roasted Brussels sprouts and a warm baguette. If you like a lot of sauce, add extra once it's plated. 
  I'll blog the roasted Brussels sprouts tomorrow, I never knew I liked them--honestly, I actively avoided them, but then I tried them roasted (in my college dining hall, go figure) and wow, so yummy!  


Monday, July 12, 2010

stuffed peppers

The temperature has finally dropped a few degrees and I know longer fear the wrath of the oven.  So for dinner tonight I made stuffed green peppers, overflowing with  brown rice, ground turkey, zucchini, mushrooms, onions, tomato and peas.  It's loaded with veggies boosting the fiber content-- helping you feel full without loading up on unhealthy calories. 
I must admit though, unlike most of my recipes I don't think this falls under the quick and simple category.  Because stuffed peppers is a multi-step process i.e. cooking the rice, then the turkey, mixing everything together, then baking the peppers I did some of the work last night to shorten my cooking time today.  I prepped all my veggies and cooked the rice last night, leaving only cooking the meat, mixing it all up and baking for tonight. 

Stuffed Peppers (serves 6)
Ingredients:
3 large green peppers 
2 cups cooked brown rice
1 14 oz can stewed tomatoes, No Added Salt if available
1 8 oz can tomato sauce, No Added Salt if available
~1 lb raw lean ground turkey (97% lean)
1/2 zucchini, chopped (about a cup)
1/2 cup mushrooms, chopped
1 cup frozen green peas
1/2 cup onion, coarsely chopped
3 cloves garlic, crushed
salt, pepper, and cayenne to taste
cooking spray
optional: grated or shredded cheese


Start by chopping the zucchini, mushrooms, and onion.  After I did this, I put them all in the same container along with the frozen peas and stuck it in the fridge until I was ready for it.  Next, cut and clean out the peppers.  I was undecided so I cut one pepper length-wise, one width wise, and one just trimming the top.  If I were to make these again, I'd probably just trim the top on all the peppers to get 1 serving per pepper rather than 2, which in turn would boost the calorie content of each serving. 
  Next cook the rice and set aside.  In a big skillet brown up the ground turkey on medium heat and add the fresh garlic.  Drain any excess liquid from the meat then add all the veggies to the skillet.  
Stir to mix up then add the stewed tomatoes and tomato sauce.  Break up any big tomato chunks.  Add the rice, reduce to low and simmer.  Add a pinch of salt, black pepper, and cayenne pepper.  Cook on low for about 10 minutes then remove from heat.
Preheat the oven to 350.  Spray a large baking dish with a little cooking spray.  Stuff each pepper with a heaping scoop of filling and place in baking dish.  Set aside any extra filling. 
Cover the dish with aluminum foil and poke a few holes to allow steam to escape.  Bake for approximately 45 minutes, until peppers soften.  Quickly reheat the extra filling in the microwave or stove-top and top each pepper with another hefty scoop of the rice mixture, evenly atop each pepper until left overs are gone.  Top with a little grated or shredded cheese if you like!

NEW FEATURE:
The recipe (serves 6) contains approximately 200 calories per serving.  If you cut the top off each pepper and make 1 serving per pepper rather than 2 servings,  the filling (as is) will stuff 4 large peppers and boost the calorie count to 310 calories.  This recipe is low in fat and high in fiber. 

Note: calorie count does not include cheese. 

Friday, July 9, 2010

CSF week 2 brings COD

My second share of fish brings Gadus Morhua, otherwise known as Atlantic Cod.  I've heard conflicting opinions regarding the ease of filleting this fish.  After meticulously watching every move of the knife my uncle made last week, I thought I had built up the confidence to work the knife myself.  He reassured me that bigger fish like cod and haddock are an easier fish to work with.   I talked to a friend who disagreed, saying he preferred filleting smaller fish.  Regardless of which fish I was to receive, I knew I had to try to fillet it myself.  So again I trekked, cooler in hand to pick up my weekly share.  
And there he lay, gilled and gutted staring me in the eye, taunting me with his gaze.  With my new filleting knife in hand I got to work.  Never before had I seen a cod filleted before-- I used a little common sense and a few techniques I'd picked up last week, first removing the head and tail, then slowly pulling the flesh from the bone.        
 Let me emphasize the "slow" in the previous sentence.  With only one minor injury to my right index finger, I was very proud of my work.  Although it wasn't the cleanest knife work, at the end of the day, I got the job done.   
After cleaning up the fillets, removing any lingering bones and skin they were ready to be cooked!  Feeling proud of my amateur work and eager to taste the fresh catch, I decided to whip up a quick dinner right away.  I wanted to taste the fish in it's simplest form so I opted to use the grill. 


Seasoned Grilled Cod 
2 large cod fillets
~1 tbsp olive oil
cooking spray/extra olive oil
spices of choice (cayenne, crushed red pepper, garlic, dill)


This recipe really couldn't get any simpler.  The only issue is that most Atlantic flaky fish are fragile and will fall through the standard grill rack.   If you have a contraption with smaller grates, then use that, otherwise aluminum foil will suffice.  Which ever you choose, be sure to use ample non-stick spray or healthy oil so the fish doesn't stick... I'm speaking from experience here, I had a very messy clean up because I didn't spray enough!   Note: If you use spray, spray the equipment, not the fish and do it before you turn the grill on, that stuff is flammable!

Drizzle the fish with a little bit of oil then season it with spices of your choice.  I used the spices above but use which ever flavors you like. 

Cook the fish on medium heat on the grill with the lid closed.  Flip the fish when it starts to turn white, about 5-7 minutes.  If you are using foil, no need to flip, cook it for about 10 minutes or until the fish is tender and flakes with the touch of a fork.  
I also grilled zucchini and red onion chunks, seasoned with the same spices.  Flip the veggies when they start to soften and get some nice grill marks.  

We also cooked some cod in foil too.  Same spices with a little bit of sliced tomato on top.  No need to seal the foil, unless you want steamed fish.  The fish cooked in foil came out a little more tender and juicy because it trapped all the juices.  They were both great!    


Stay tuned because I have big plans for potato-fish cakes, spicy fish stew, and creamy fish florentine! 

Tuesday, June 29, 2010

tipsy quinoa salad

I had a veggie burger tonight with grilled eggplant and zucchini for dinner and I had some leftover veggies, so I decided to whip up a quick pasta salad to pack for lunch this week.  Drunken noodles are made with alcohol, right?  Well I added just a little bit of white wine to the quinoa...not quite drunken, but tipsy at best.   
I think this recipe makes a great lunch or as a side dish too (paired with grilled shrimp, mmmm).  I think I'll probably cut up some left over fajita chicken from last night for tomorrow's lunch.  This salad has tons of veggies and even some fresh basil--remember my Earth Day herbs?!  They're growing beautifully :)
While we're on that topic, I just acquired some eggplant and pepper plants from a neighbor, I'll be transplanting later this week, watch for a post on vegetable gardens soon!  

Tipsy Quinoa Salad 
Ingredients:
3/4 cup dry red quinoa, rinsed 
1 1/2 cup water or broth
1/4 lg. eggplant, sliced & grilled 
1/3 lg. zucchini, sliced lengthwise & grilled 
1/4 lg. vidalia onion
1/4 red pepper
1/3 cup sliced mushrooms
about 10-15 small, fresh basil leaves
1 tbsp olive oil
1/4 cup white wine 
a shake of paprika
garlic powder, to taste (there is no such thing as too much garlic)
salt & pepper, to taste (but go easy with that salt shaker)


I started by drizzling the eggplant and zucchini a little bit of olive oil, a sprinkle of salt, pepper, and garlic powder and cooking on medium heat on the grill (about 10-15 minutes).  You could skewer the onion, pepper, and mushrooms and grill them too, but I just cooked those in a pan after dinner.   When the veggies are done, chop them into bite size pieces and set them aside.

If you didn't grill the onions, peppers, and mushrooms, chop them and cook them on medium heat in a skillet with another small drizzle of olive oil.   
Once the veggies start cooking, add the grilled eggplant and zucchini to the pan too.  Add the paprika, garlic powder, salt and pepper now. 
While the veggies are cooking, prepare the quinoa.  Just rinse it, put it in a pan with the water/broth on high heat until it boils, cover and reduce it to a simmer until the water/broth is absorbed, it'll take about 10 minutes.  When the Quinoa is done, add it to the big pan of veggies.  Next add the white wine and basil leaves.  Stir for a minute or too and it's ready to go! 
 Like I said before, this makes a great side dish, or a light lunch meal.  Quinoa is rich in protein and the veggies add a ton of vitamins too.  The olive oil has healthy unsaturated fat which is great for skin and hair, and the wine... well that's just for fun ;)    Enjoy!

Monday, June 28, 2010

I'm making fajitas!

I had a very busy weekend, I worked on Saturday and spent my free time either at the beach or at Fiesta and didn't spend any time in the kitchen, so I knew I just HAD to get a post up tonight.  I was driving home from work racking my brain on what to cook... I was so entranced on dinner that I completely missed my exit and accidentally started driving to Boston, woops!  While I was rerouting, I decided fajitas would be a good idea; there was already chicken in the fridge and I had a red pepper and onions.  I stopped at the store to grab a couple essentials and then to the farm stand in Tewksbury to get some fresh corn... got to love working in the middle of nowhere.  Speaking of which, I saw a deer while I was driving home! But I digress, anyway-- here's the recipe! 

Chicken Fajitas (serves 4)
Ingredients:
1 tbsp canola oil
2 lg. boneless, skinless chicken breasts, sliced
1/2 lg. red pepper
1/2 lg. green pepper
1/2 lg. vidalia onion
1/2 cup mushrooms 
1/4 green zucchini
1 handful of peapods
cayenne pepper, paprika, & garlic powder, to taste
4 corn tortillas (flour or wheat tortillas work too)
optional: salsa, sour cream, cheese, guacamole, etc.


First, heat the tbsp oil in a large skillet or wok.  Slice the chicken into strips and season with cayenne and paprika.  Put the chicken in the pan and flip when it starts cooking (turns white).
While the chicken is cooking, start slicing the veggies fajita style, or into thin strips.  I like a little more variety than just onions and peppers in a fajita so I added zucchini, mushrooms, and peapods too.  Add them to the pan of chicken and stir so they don't stick.  If you like heat, you can add a little more cayenne and garlic powder to the pan.  
Let the chicken and veggies sizzzzzzle! Cook it until the veggies soften, about 20 minutes or so.  Warm up the tortillas in the microwave for about 30 seconds.  I made yellow Spanish rice and corn on the cob to serve with the fajitas, enjoy! 


My new kitchen helper was really hoping to snag a few scraps... maybe next time Belle :)

Thursday, June 24, 2010

mango chicken stir-fry with red quinoa

Looking for a quick summer recipe?  Well you've come to the right place.  When it comes to stir-fry use any veggies you'd like.  Take advantage of the warm season, the quality of produce is peaking while prices are likely dropping.  Tonight I made a mango chicken stir-fry loaded with tons of fresh veggies on a bed of red quinoa.  

Mango Chicken Stir-fry with Red Quinoa (serves 4)
Ingredients:
 1/4 large eggplant, sliced into quarters
1 medium zucchini, sliced
1 medium yellow onion, sliced
1/2 red bell pepper, chopped
1 tbsp olive oil
1 precooked rotisserie chicken breast
~1/8 cup pineapple flavored teriyaki marinate
1/2 cup thawed frozen mango chunks (found at Trader Joes)
Siracha sauce to taste (aka rooster sauce)
2 and 1/2 cup vegetable stalk, divided
1 cup dry red quinoa 


In a large wok or skillet, heat the oil on medium to high heat.  Add the eggplant and let soften a little bit.  Next add the zucchini, pepper and onion.  If the veggies start to stick, add a little of the 1/2 cup vegetable stalk, a few tablespoons at a time.  While these vegetables are cooking, prep the rotisserie chicken by peeling off the skin and chopping into medium sized chunks. Add the chicken to the pan and stir.  Next add the mango.  Add the marinate and siracha sauce and reduce the heat to medium-low.
While all of this is cooking, rinse the quinoa with cold running water.  Add 1 cup water, 1 cup vegetable stock and 1 cup rinsed quinoa in a medium pot and bring to a boil.  Then cover, and simmer for 10-15 minutes until soft.  The quinoa is done with the circular whites separate from the red quinoa. 
 The stir-fry will be done when the quinoa is ready.  Plate it up and enjoy!  Stir-fries make for great leftovers, so make extra and brown bag it for tomorrow's lunch :)


Wednesday, June 23, 2010

10 grocery staples I can't live without

Sure, I love to cook but do I have time to prepare a meal from scratch all the time, of course not, I think there are few people out there that still do.  So for that reason, I like to make sure I have some easy standbys when I just don't have the time, energy, or creativity to prepare a meal.  So here goes, 10 things I like to have stocked at all times, my list of 10 grocery staples I can't live without:

(1) Dr. Praeger's All Natural California Veggie Burgers--  These burgers get my RD approval.  As an ex-vegetarian, and now self proclaimed flexitarian I have sampled my fair share of veggie burgers.  I've always favored the vegetable style over the faux-beef varieties and these veggie burgers are unlike most others because you can clearly see all the different vegetables in the burger, so good!  If you haven't tried them yet, you need to pick them up next time you're at the grocery store --seriously!


(2) Almond Breeze Unsweetened Vanilla Almond Milk-- I had been drinking soy milk for a few years now and on a whim I decided to stray from my norm and try the almond milk.  This stuff is great!  The almonds give the milk a great nutty flavor that is just lovely in cereal.  And as an added bonus, this nutty treat has half the calories of skim milk.  If you are lactose-intolerant or just want to try something new, it's definitely worth a shot.


(3) Eggs-- You cant go wrong with this inexpensive, protein rich staple.  With a little cheese and some veggies, you've got a well-balance, healthy meal.  Omelets take no time at all to make and you can keep things interesting with changing up your fillings using different cheeses, vegetables, and toppings.  And this simple meal shouldn't be reserved soley for breakfast, eggs make a great lunch or dinner too. 

(4) 1 Minute Quick Oats-- Now that summer is here, this staple isn't quite as important in my kitchen.  However, in the winter I eat oatmeal for breakfast most days of the week.  I prefer it cooked in the microwave with water, over the stove-top method; I think the oats get softer quicker.  Most of the time, I make my oatmeal with frozen blueberries and strawberries, or canned pumpkin and raisins, or peanut butter and bananas...  all topped with almond milk and a sprinkle of cinnamon.

(5) Sweet Potatoes-- I know I've mentioned this already in a post, but I have a soft spot in my heart for these orange rooters.  Sliced into fries and baked in the oven, these make for a perfect side to veggie burgers or even as an afternoon snack (a great alternative to a bag of chips).  These are also great baked or mashed and a much better alternative to their white counterparts.

(6) Wheat English Muffins-- Since it's now a little unseasonable for oatmeal, English muffins have taken over for my standard breakfast of choice.  Either with peanut butter and a little honey or with a Laughing Cow Original Swiss cheese wedge and a little strawberry jam this makes for a great portable light breakfast. 


(7) & (8) Pizza Sauce and Mozzarella Cheese--Paired with #6 these three make a delicious kid-friendly trio.  No matter your age, how can you go wrong with an English muffin pizza, that's right, you can't.  'nough said. 


(9)  Hummus-- Great for snacks and sandwiches, this spread is perfect when you want to take a break from your usual lunch sandwich rotation.  Hummus is made from chickpeas and tahini and makes a great wrap with lots of veggies or as a dip for crackers, pita bread, or tortilla chips.  And it comes in so many different flavors!


(10) No Pudge Brownie Mix-- This is the best culinary creation since sliced bread.  The day is not complete without a little chocolate in your life.  No Pudge has really stepped out of the box by creating a microwavable, single serving brownie mix.  By simply mixing two tbsp of brownie mix and 1 tbsp of vanilla yogurt in a microwavable dish, you now have a fresh hot brownie just waiting to be topped with a scoop of light vanilla ice cream!


Tuesday, June 8, 2010

chicken cacciatore over cous cous

Boy oh boy life has been busy!  Last week I made a big pot o' chili to get me through the week so I apologize for the post shortage.  Tonight I came home from work a little early and energized to cook dinner so whipped up a pot of chicken cacciatore.  It's an easy and veggie-full recipe, and it's pairs well with pasta, polenta, rice, and cous cous!  And it's healthy too!  The tomatoes in the recipe are packed with antioxidants, aka powerhouse nutrients that protect against certain cancers.  Tomatoes also have vitamin A and C.  This is also a naturally low fat/low calorie recipe so if your watching your waist line, be sure to add this recipe to your repertoire. 


Chicken Cacciatore (serves 2--big portion loaded with vegetables!)
Ingredients:
2 skinless chicken thighs (or breast), cut in chunks
1 tsp olive oil
1 tbsp crushed garlic
1 medium green bell pepper, coarsely chopped
1 small onion, sliced
1 can diced tomatoes (no added salt if available)
1-2 tbsp tomato paste
1/4 cup fresh chopped parsley 
(optional: grated cheese, crushed red pepper, oregano, salt to taste)


Start by adding 1 tsp of olive oil in a large frying pan on high heat.  Let the oil get hot in the pan then add the chicken chunks and garlic.  Let the chicken cook for about 4 minutes on each side.
 Turn the heat to medium-low and add the bell pepper and onion.  Try not to let the vegetables brown, so stir frequently and adjust the heat as needed.  
 Next add the diced tomatoes and tomato paste.  Canned tomato products are really high in sodium, so when ever possible try to buy the no added salt version, you can always add a little bit of salt in the cooking process or once the meal is plated.  Add the parsley and let simmer for about a half hour, until the peppers have softened.
 
 
Serve with any grain of your choice.  I made a quick batch of whole wheat cous cous-- follow the instructions on the box for whichever grain you choose.  
This was a great easy meal to prepare and it's good left over as well.  The only thing missing was a big piece of warm crusty bread!

Friday, April 30, 2010

sloppy Jill's and sweet potato not-fries

Without even tasting this, the name alone makes this recipe pretty awesome.  Sloppy Jill's are a vegetarian twist on a meaty classic, and they are true to their name... very sloppy!  Instead of using hamburger meat which is high in unhealthy fat and cholesterol, I used the soy crumbles which I had left over from the easy 'meaty' chili recipe from earlier in the week.  Sweet potato fries are a super quick and easy side dish, and they're good with just about anything!  I seriously eat sweet potato fries at the very least 3 out of 7 days a week.  Sweet potatoes are packed with vitamin A, C, fiber, & potassium, and they are a colorful alternative to your average joe shmoe spud.  

Sloppy Jill's (serves 1)
Ingredients:
1/4 cup chopped green pepper
1/2 tsp olive oil
2/3 cup soy crumbles (Boca or MorningStar have these in the freezer section near the veggie burgers)
3 tbsp canned tomato sauce
1 tbsp canned tomato paste
1 tsp worcestershire sauce
1 tsp teriyaki sauce 
1/4 tsp cumin
a splash of hot sauce (only if you like a little heat)
1 roll of choice (I used a Trader Joe's multigrain sandwich thin... some rolls have an absurd amount of calories, so read your labels-- If its over 150 calories, try to find another option)


sweet potato not-fries (serves 1)
Ingredients: 
cooking spray
1/2 large sweet potato (or 1 small, but those are hard to find)
pinch of coarse sea salt


Start by preheating the oven to 400 degrees.  These tasty treats get their name because they are not fried, they're baked!  Cut a large sweet potato length wise (put one half in a tupperware container for another day).  Lay one potato half on the cutting board with the flat side down and cut length wise into strips.  Then cut those strips into 1/4 inch fries, don't go  too thin or they'll burn.  Spray a baking sheet with a little bit of cooking spray, put the potato on the pan and sprinkle with sea salt.  Set your oven timer for 15 minutes, when that timer goes off, take them out, flip 'em and pop them pack in for another 15 minutes.
When there is about 10-15 minutes left after you've flipped your not-fries, you can start to prepare your Sloppy Jill's.  Start by chopping a green bell pepper.  I used about a 1/3rd of a medium size pepper.  Add 1/2 tsp of oil into a small frying pan on medium heat.  Add the pepper.  Stir occasionally and cook for about 5 minutes.
 Next you can add the tomato sauce & tomato paste.  If you are using frozen soy crumbles, nuke them for about a minute before you add them to the pan.  Reduce the heat to low.  Keep stirring and mix in the cumin, worcestershire sauce, teriyaki sauce, and hot sauce.  If it starts to get really thick, add a little water about a tbsp at a time and simmer... 
 I like my bread toasted because it adds a texture contrast to the sloppiness of the sandwich.  After you've toasted your bread, put the bottom bun on a plate, pour your sloppy filling on the bun, and top it with the other half of the bun.  The not-fries should be just about done now if you've timed everything just right.  
I have tested a ton of different condiments to try to find the perfect dip to dunk the sweet potato fries... honey mustard is really good, but my all time favorite so far is a light drizzle of maple syrup, probably less than a tablespoon.

  You may need a fork to tackle this sandwich, and most definitely lots o' napkins!